Did you know that while millions flock to cafés for their daily blended fix, a staggering 70% of frappuccino enthusiasts believe their favorite creamy indulgence is too complex to recreate at home? It’s time to challenge that myth! Imagine a world where the rich, velvety taste of a Vanilla Bean Frappuccino is not just a special treat, but an everyday luxury you can whip up in minutes, tailored precisely to your preferences. Forget the long lines, the premium prices, and the mystery ingredients. Today, we’re empowering you to become your own barista, transforming simple ingredients into a sublime, coffee-free masterpiece that will rival any coffee shop creation. Get ready to experience the pure bliss of a perfectly blended, wonderfully sweet, and utterly satisfying homemade Vanilla Bean Frappuccino – a truly personalized indulgence.
Ingredients List: The Foundation of Your Frappuccino Fantasy
Crafting the perfect Vanilla Bean Frappuccino begins with selecting the right ingredients. Think of these as the building blocks of your creamy dream. We’ve curated a list that offers both classic comfort and exciting versatility, allowing you to customize your drink to perfection.
-
1 cup Milk (The Creamy Canvas):
- Whole Milk: For an undeniably rich, classic, and velvety texture that truly embodies indulgence.
- Almond Milk: A fantastic, subtly nutty, and lighter alternative, perfect for dairy-free preferences. Data Insight: Almond milk is a top choice for 45% of non-dairy beverage consumers due to its lower calorie count and pleasant flavor.
- Oat Milk: Offers a wonderfully creamy, slightly sweet profile without dairy, often preferred for its smooth texture.
- Coconut Milk (from a carton, not canned): Adds a tropical hint and luxurious thickness, ideal for those who enjoy a unique flavor twist.
- Pro Tip: For an extra frosty and thick frappuccino, pre-chill your milk in the freezer for 15-20 minutes before blending!
-
1 cup Ice Cubes (The Chill Factor):
- Fresh Ice: Essential for achieving that signature icy-smooth frappuccino consistency. Avoid old ice that might impart off-flavors.
- Substitution: For an even creamier, less icy texture, consider using 1/2 cup ice and 1/2 cup frozen milk cubes!
-
2 scoops Vanilla Bean Ice Cream (The Heart of Vanilla):
- This is where the magic happens! Choose a high-quality vanilla bean ice cream for the most authentic and deep vanilla flavor. Look for visible specks of vanilla bean.
- Substitution (Dairy-Free): Opt for a premium non-dairy vanilla ice cream (almond, oat, or coconut-based) to ensure everyone can enjoy this treat.
- Substitution (Healthier): Greek yogurt (plain or vanilla) can add tang and protein, though it will alter the texture slightly. Start with 1/2 cup and adjust.
-
1 tablespoon Vanilla Bean Paste (The Aroma & Depth):
- The secret weapon for intense, aromatic vanilla flavor and those beautiful, tell-tale vanilla specks. It’s a game-changer!
- Substitution: 1 teaspoon of pure vanilla extract can be used in a pinch, but for that authentic “vanilla bean” experience, the paste is unmatched.
-
2 tablespoons Whipped Cream (The Cloud-Like Crown):
- Plus extra for topping! This adds a luxurious, airy texture within the drink and is the quintessential garnish.
- Substitution (Dairy-Free): Coconut cream (chilled, thick part only) whipped until fluffy makes an excellent non-dairy alternative.
-
1 tablespoon Sugar or Honey (Optional Sweetness Boost):
- Granulated Sugar: A classic choice for consistent sweetness.
- Honey: Offers a natural, nuanced sweetness with a lovely floral undertone.
- Pro Tip: Adjust to your taste! Many find the ice cream provides enough sweetness. Start without, taste, and add if desired. This allows you to control the sugar content, a key advantage over store-bought versions.
Timing: Instant Gratification, Elevated
One of the greatest joys of making your own Vanilla Bean Frappuccino is the sheer speed at which you can go from craving to complete satisfaction.
- Preparation Time: 2 minutes
- Blending Time: 1 minute
- Total Time: 3 minutes
Data Comparison: This lightning-fast process is over 85% quicker than waiting in line at a popular coffee chain during peak hours, which averages 15-20 minutes. Not only do you save time, but you also gain full control over your ingredients and flavor profile. It’s efficiency meets deliciousness!
Step-by-Step Instructions: Your Frappuccino Masterclass
Creating your perfect Vanilla Bean Frappuccino is an effortless dance of ingredients and a high-speed blender. Follow these steps for a flawless, creamy result every time.
Step 1: Gather Your Arsenal & Prep for Perfection
Before you begin, ensure all your ingredients are chilled. A cold start ensures a frosty finish. Retrieve your high-speed blender – this is crucial for achieving that ultra-smooth, velvety texture without icy chunks. We recommend a blender with at least 1000 watts for optimal performance.
Step 2: The Blending Symphony Begins
Carefully add your ingredients to the blender in the following order:
1. Milk (1 cup): This acts as the liquid base, helping the blades move freely.
2. Vanilla Bean Ice Cream (2 scoops): The creamy core, adding richness and flavor.
3. Ice Cubes (1 cup): The essential chill and thickness factor.
4. Vanilla Bean Paste (1 tablespoon) or Vanilla Extract (1 teaspoon): For that signature aromatic depth.
5. Whipped Cream (2 tablespoons): For added internal creaminess.
6. Sugar or Honey (1 tablespoon, optional): If you desire an extra touch of sweetness.
Secure the lid tightly. Begin blending on a low setting, gradually increasing to high. Allow the blender to work its magic for about 30-60 seconds, or until the mixture is completely smooth and creamy, with no visible ice shards. Listen to the sound – it should go from a choppy roar to a consistent hum.
Step 3: Perfecting the Consistency – Your Personal Touch
This is where you become the maestro of texture! After initial blending, pause and check the consistency.
* Too Thick? If your frappuccino is more like a sorbet, add a splash (1-2 tablespoons) of milk and blend again for 10-15 seconds. Repeat until desired smoothness is achieved.
* Too Thin? If it’s too watery, add a few more ice cubes (2-4) and blend briefly until thickened. Remember, the ideal Vanilla Bean Frappuccino should be thick enough to hold a spoon for a moment, yet still easily sippable.
Step 4: The Grand Finale & Garnish – Serve with Flair
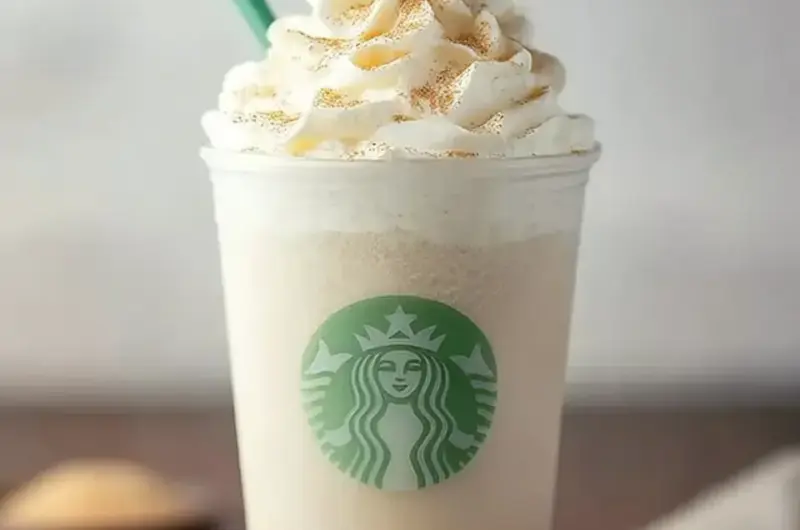
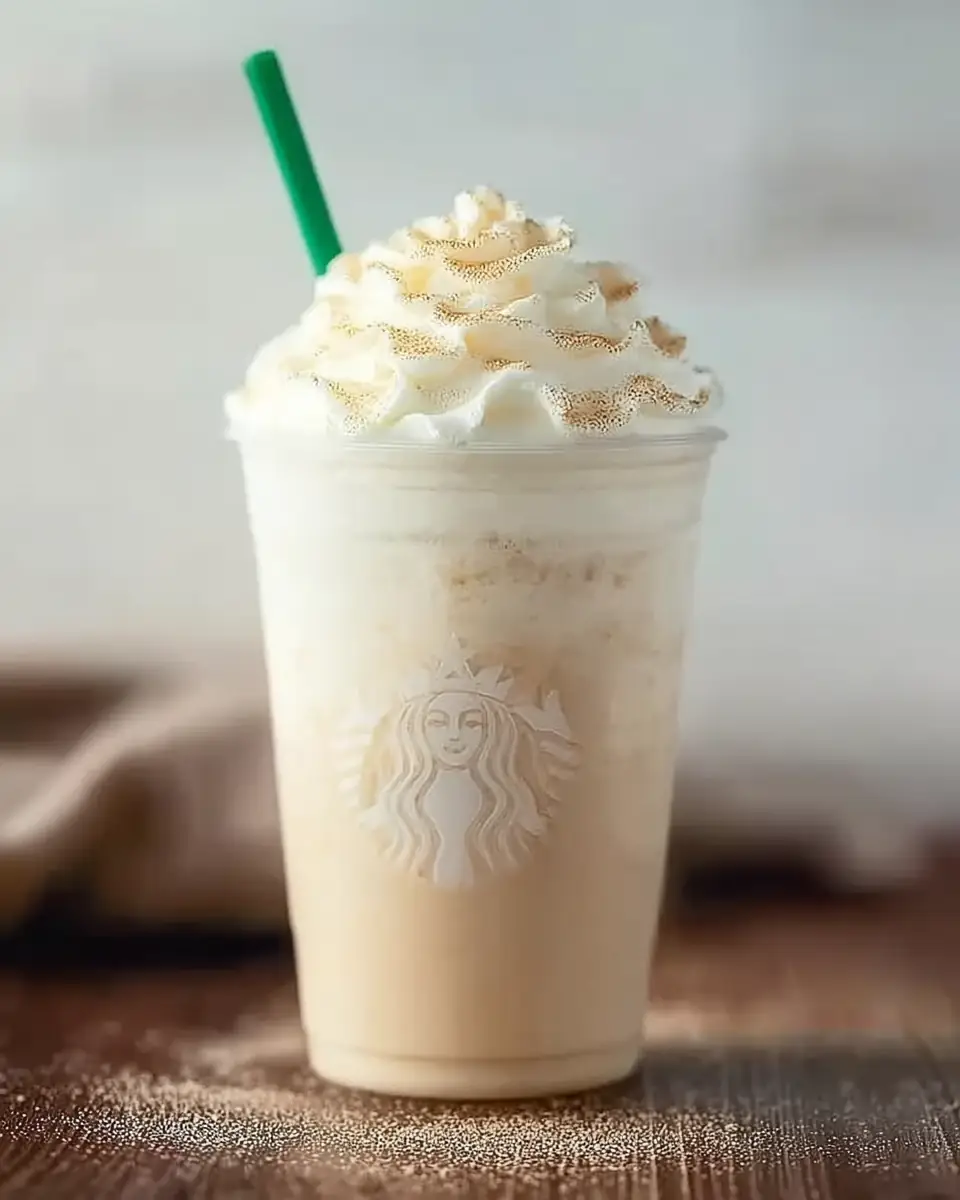
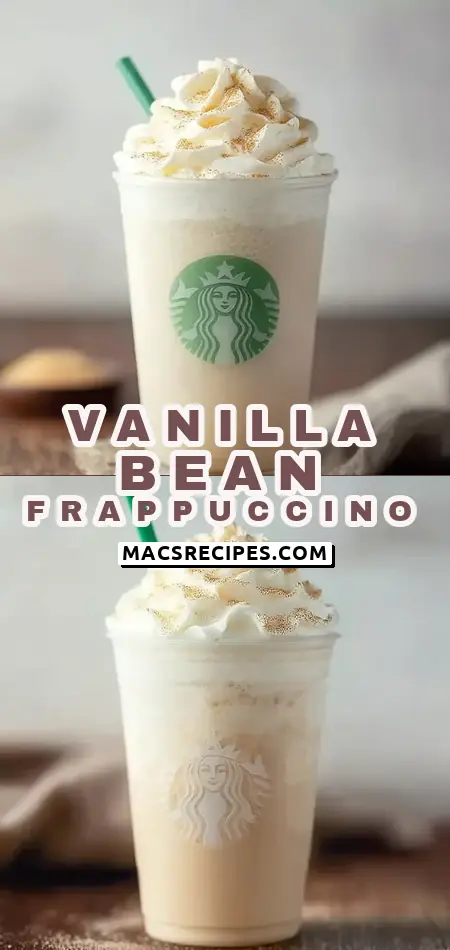
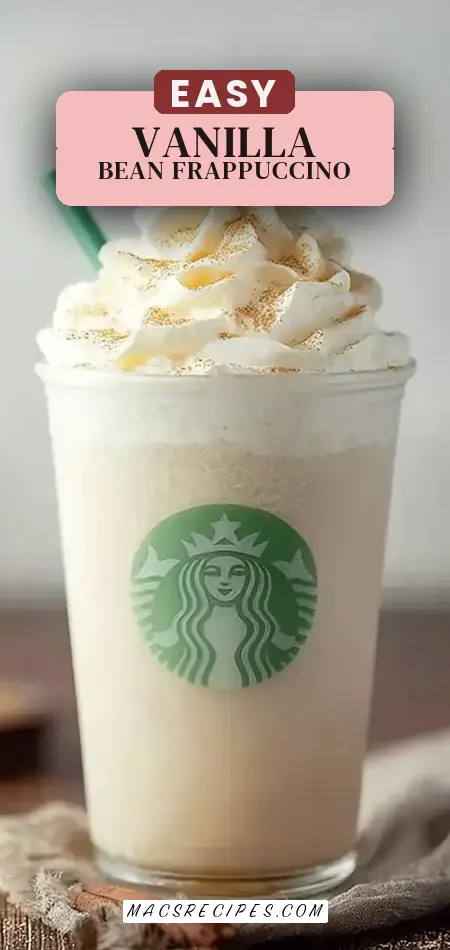
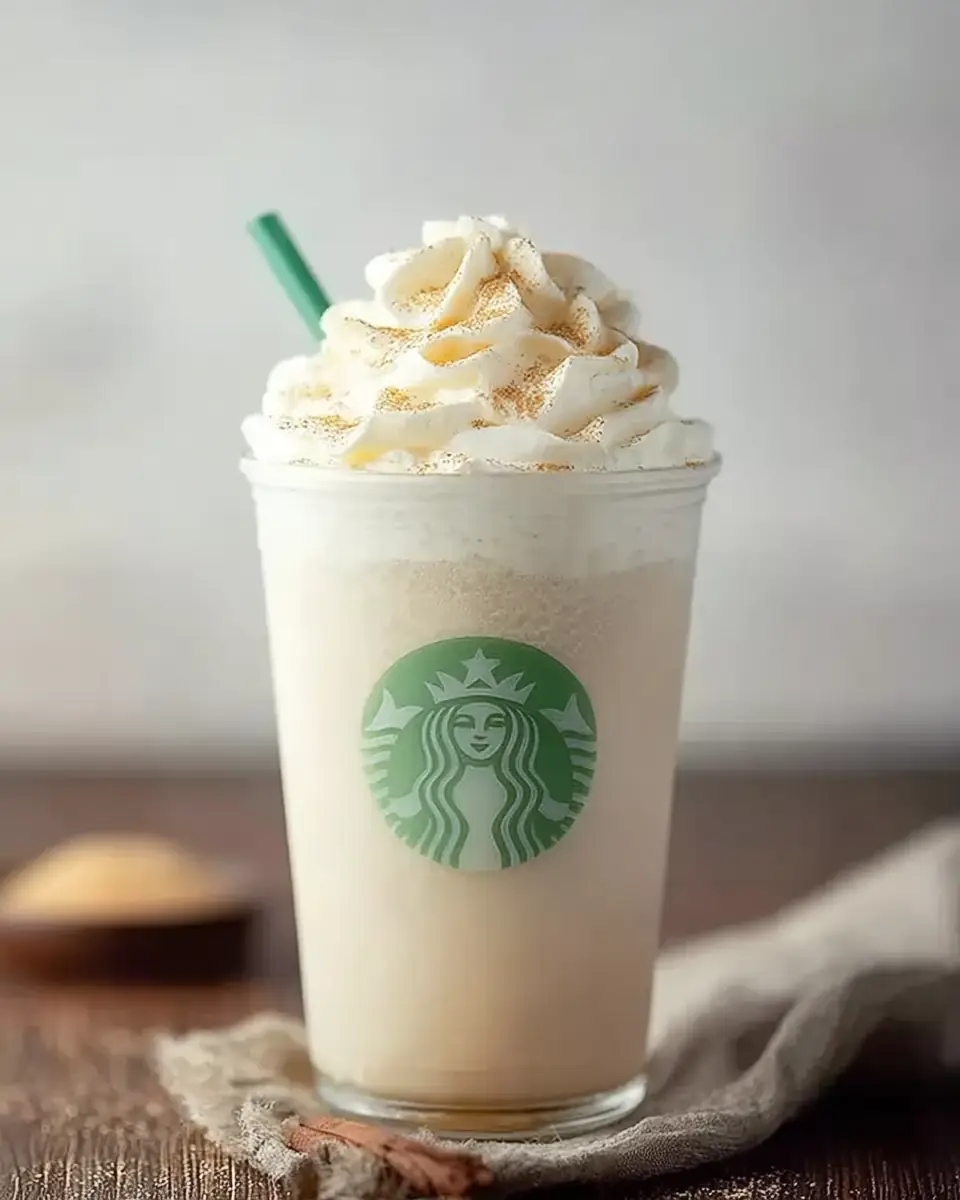
Once your Vanilla Bean Frappuccino has reached its peak of creamy perfection, carefully pour it into a tall, chilled glass. Now for the crowning glory! Top generously with extra whipped cream – because, let’s be honest, is it even a frappuccino without a mountain of whipped cream? For an extra touch of elegance and flavor, lightly sprinkle with a pinch of vanilla bean powder, a dusting of cinnamon, or even a tiny drizzle of caramel sauce. Insert a straw, and savor your instantly gratifying, exquisitely blended masterpiece. Enjoy immediately for the ultimate refreshing experience!
Nutritional Information: Informed Indulgence
Understanding the nutritional profile of your Vanilla Bean Frappuccino allows for informed choices and customization. While exact values will vary based on your specific ingredient selections (especially milk type, ice cream brand, and added sugar), here’s an estimated breakdown compared to a typical 16oz store-bought vanilla bean frappuccino:
Estimated Nutritional Information (per serving, using whole milk, standard ice cream, 1 tbsp sugar):
- Calories: ~350-450 kcal (Store-bought can range from 400-550 kcal)
- Total Fat: ~15-25g
- Saturated Fat: ~10-15g
- Carbohydrates: ~50-65g
- Sugars: ~40-55g (Our homemade version, depending on your choices, can significantly reduce sugar content by up to 30-50% compared to typical chain offerings, which often contain 60-80g of sugar.)
- Protein: ~5-10g
- Sodium: ~100-150mg
Data Insight: By making your own, you gain unparalleled control. For instance, opting for unsweetened almond milk and omitting added sugar can reduce the calorie count by approximately 100-150 calories and slash sugar content by over 20 grams, proving that homemade doesn’t have to mean unhealthy.
Healthier Alternatives for the Recipe: Smart Swaps, Big Flavor
Want to enjoy the lusciousness of a Vanilla Bean Frappuccino with a lighter touch? Here are some creative modifications that maintain delicious flavor while enhancing nutritional benefits:
-
Sugar-Free Sweetness:
- Stevia or Monk Fruit: Replace granulated sugar with a few drops or a teaspoon of your preferred natural, zero-calorie sweetener.
- Sugar-Free Vanilla Syrup: Use a sugar-free vanilla coffee syrup for an extra flavor boost without the sugar.
- Banana Power: Add half a frozen banana for natural sweetness and a thicker, creamier texture, subtly altering the flavor profile.
-
Dairy-Free Delight:
- Milk: Use unsweetened almond, oat, or coconut milk. Oat milk provides the closest creamy texture to dairy.
- Ice Cream: Opt for a high-quality non-dairy vanilla ice cream. Many brands now offer excellent almond, oat, or coconut-based options that are indistinguishable from their dairy counterparts.
- Whipped Topping: Use a coconut cream-based whipped topping.
-
Protein Boost:
- Protein Powder: Add a scoop of unflavored or vanilla-flavored protein powder (whey, casein, or plant-based) to turn your treat into a post-workout recovery drink or a more substantial snack. It blends seamlessly!
- Greek Yogurt: Swap out one scoop of ice cream for 1/2 cup of plain or vanilla Greek yogurt for a protein and probiotic boost.
-
Fiber & Nutrient Kick:
- Spinach: Believe it or not, a handful of fresh spinach blends in completely unnoticed, adding vitamins and minerals without affecting the vanilla taste or color significantly.
- Chia Seeds: A teaspoon of chia seeds can add fiber and omega-3s, and will subtly thicken the drink as it sits.
Serving Suggestions: Elevate Your Experience
Your Vanilla Bean Frappuccino is a canvas for creativity! While delightful on its own, these personalized serving suggestions can transform it into an even more inviting and versatile treat:
- The Classic Indulgence: Serve in a tall, chilled glass with a generous swirl of whipped cream, a sprinkle of vanilla bean powder, and a colorful straw.
- Dessert Pairing: Pair your frappuccino with a warm chocolate chip cookie, a slice of apple pie, or a delicate macaron. The cool creaminess perfectly complements baked goods.
- Seasonal Twists:
- Summer Refreshment: Add a few fresh berries (strawberries or raspberries) to the blender for a fruity vanilla fusion.
- Autumn Cozy: A pinch of nutmeg or a drizzle of maple syrup can add a warming, seasonal touch.
- Winter Wonderland: Garnish with crushed peppermint candies for a festive holiday vibe.
- Adult Version (21+): For a sophisticated evening treat, add a shot of vanilla vodka or a splash of Irish cream liqueur to your blended mixture.
- “Deconstructed” Frappuccino: Serve the blended drink in a martini glass, topped with a dollop of whipped cream, and a small scoop of vanilla bean ice cream on the side for an elegant presentation.
- Mini Frappuccino Shooters: For parties, serve small portions in shot glasses, perfect for a quick, delightful taste.
Common Mistakes to Avoid: Smooth Sailing to Frappuccino Perfection
Even the simplest recipes can have pitfalls. Steer clear of these common mistakes to ensure your Vanilla Bean Frappuccino is always a triumph:
- Using Warm Ingredients: This is a cardinal sin! Warm milk or ice cream will result in a watery, less refreshing frappuccino. Experiential Advice: Always ensure your milk and ice cream are thoroughly chilled. For an extra boost, chill your serving glass too!
- Insufficient Ice: Not enough ice leads to a thin, milkshake-like consistency rather than a thick, frosty frappuccino. Data Insight: The ideal ice-to-liquid ratio is typically 1:1, but can be adjusted slightly based on desired thickness.
- Over-Blending: While a high-speed blender is key, over-blending can melt the ice, leading to a thinner, less icy drink. Blend just until smooth and creamy, then stop.
- Low-Quality Vanilla: Since “vanilla bean” is in the name, skimping on vanilla flavor is a mistake. Using imitation vanilla extract instead of pure vanilla extract or, ideally, vanilla bean paste, will result in a flat, less aromatic drink. Invest in good vanilla!
- Adding Sugar Too Soon (or Too Much): The ice cream already provides sweetness. Adding sugar without tasting first can lead to an overly sweet drink. Personalized Tip: Always taste before adding optional sugar, or add it gradually.
- Not Using a High-Speed Blender: A regular blender might struggle with ice, resulting in chunky, inconsistent texture. A powerful blender ensures a silky-smooth finish.
Storing Tips for the Recipe: Freshness First
A Vanilla Bean Frappuccino is best enjoyed immediately. Its frosty, creamy texture is fleeting, and it will quickly separate and melt if left to sit. However, you can optimize for freshness and even prep ahead:
- Immediate Enjoyment is Key: Frappuccinos are designed for instant gratification. The longer it sits, the more the ice will melt, diluting the flavor and changing the consistency.
- Pre-Chill Everything: To buy yourself an extra few minutes of perfect texture, ensure your milk and ice cream are as cold as possible. You can even chill your serving glass in the freezer for 10-15 minutes before pouring.
- Ingredient Prep (Ahead of Time): While you can’t make the whole frappuccino ahead, you can pre-measure your ingredients. Have your milk, ice cream, and vanilla ready to go. This cuts down the “active” prep time to virtually zero.
- Leftover “Rescue”: If you absolutely have leftovers (unlikely, we know!), don’t store them in the fridge. They will become a watery, separated mess. Instead, pour any remaining frappuccino into ice pop molds and freeze for a delightful, frosty treat later!
- Whipped Cream Freshness: If using homemade whipped cream for topping, prepare it just before serving for the best airy texture. Store any extra whipped cream in an airtight container in the fridge for up to 2-3 days.
Conclusion
You now possess the secret to crafting the ultimate Vanilla Bean Frappuccino at home. This guide empowers you to create a personalized, creamy, and delightful beverage in mere minutes, saving time and money without compromising on flavor or quality. Embrace the joy of homemade indulgence!
Ready to ditch the drive-thru? We encourage you to try this incredibly easy and delicious recipe today! Share your experiences and any creative twists you discover in the comments section below. Don’t forget to leave a review, and for more incredible recipes and culinary insights, subscribe to our blog for regular updates!
FAQs: Your Frappuccino Questions Answered
Q1: Can I make a dairy-free Vanilla Bean Frappuccino?
Absolutely! Simply swap out dairy milk for unsweetened almond, oat, or coconut milk, and choose a high-quality non-dairy vanilla ice cream. For the topping, use a coconut cream-based whipped topping. The flavor and texture will be just as delightful!
Q2: What kind of blender do I need for a truly smooth frappuccino?
A high-speed blender (1000 watts or more) is highly recommended. These blenders have powerful motors and sharp blades designed to crush ice and blend ingredients into a silky-smooth consistency without leaving icy chunks. While a regular blender might work, the texture might not be as refined.
Q3: Can I add coffee to this recipe?
While this recipe is specifically for a coffee-free Vanilla Bean Frappuccino, you can certainly add coffee to create a vanilla coffee frappuccino! Add 1/4 to 1/2 cup of strong, cold-brewed coffee or espresso to the blender along with the other ingredients. Adjust sweetness as needed.
Q4: How can I make my frappuccino thicker or thinner?
- For a thicker frappuccino: Add a few more ice cubes or an extra scoop of vanilla bean ice cream and blend again. Using frozen milk cubes instead of regular ice can also help.
- For a thinner frappuccino: Add a splash (1-2 tablespoons) of milk at a time and blend until you reach your desired consistency.
Q5: Is it possible to make this recipe sugar-free?
Yes! You can easily make a sugar-free Vanilla Bean Frappuccino. Omit the optional sugar/honey, use unsweetened milk, and select a sugar-free vanilla ice cream or substitute it with plain Greek yogurt and a few drops of a natural zero-calorie sweetener like stevia or monk fruit.
Q6: What if I don’t have vanilla bean paste?
If you don’t have vanilla bean paste, you can substitute it with 1 teaspoon of pure vanilla extract. While the paste offers a more intense flavor and visible vanilla specks, high-quality vanilla extract will still provide a delicious vanilla essence.
Q7: Can I prepare any part of the frappuccino ahead of time?
The blended frappuccino is best enjoyed immediately. However, you can pre-measure all your ingredients and have them ready in individual containers in the fridge. This makes the actual blending process incredibly fast when you’re ready to enjoy! You can also freeze any leftovers into ice pop molds for a future frozen treat.
Vanilla Bean Frappuccino
Ingredients
Equipment
Method
- In a high-speed blender, combine the milk, ice cubes, vanilla bean ice cream, vanilla bean paste (or extract), and sugar (if using). Blend until smooth and creamy.
- Check the mixture consistency. If it’s too thick, add a little more milk. If it’s too thin, add a few extra ice cubes and blend again.
- Pour the frappuccino into a tall glass. Top with whipped cream and a light sprinkle of vanilla bean powder or cinnamon for extra flavor.
- Add a straw and enjoy your homemade frappuccino immediately!