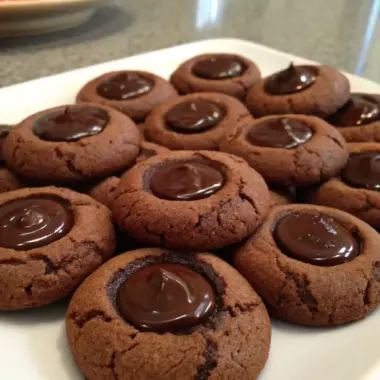
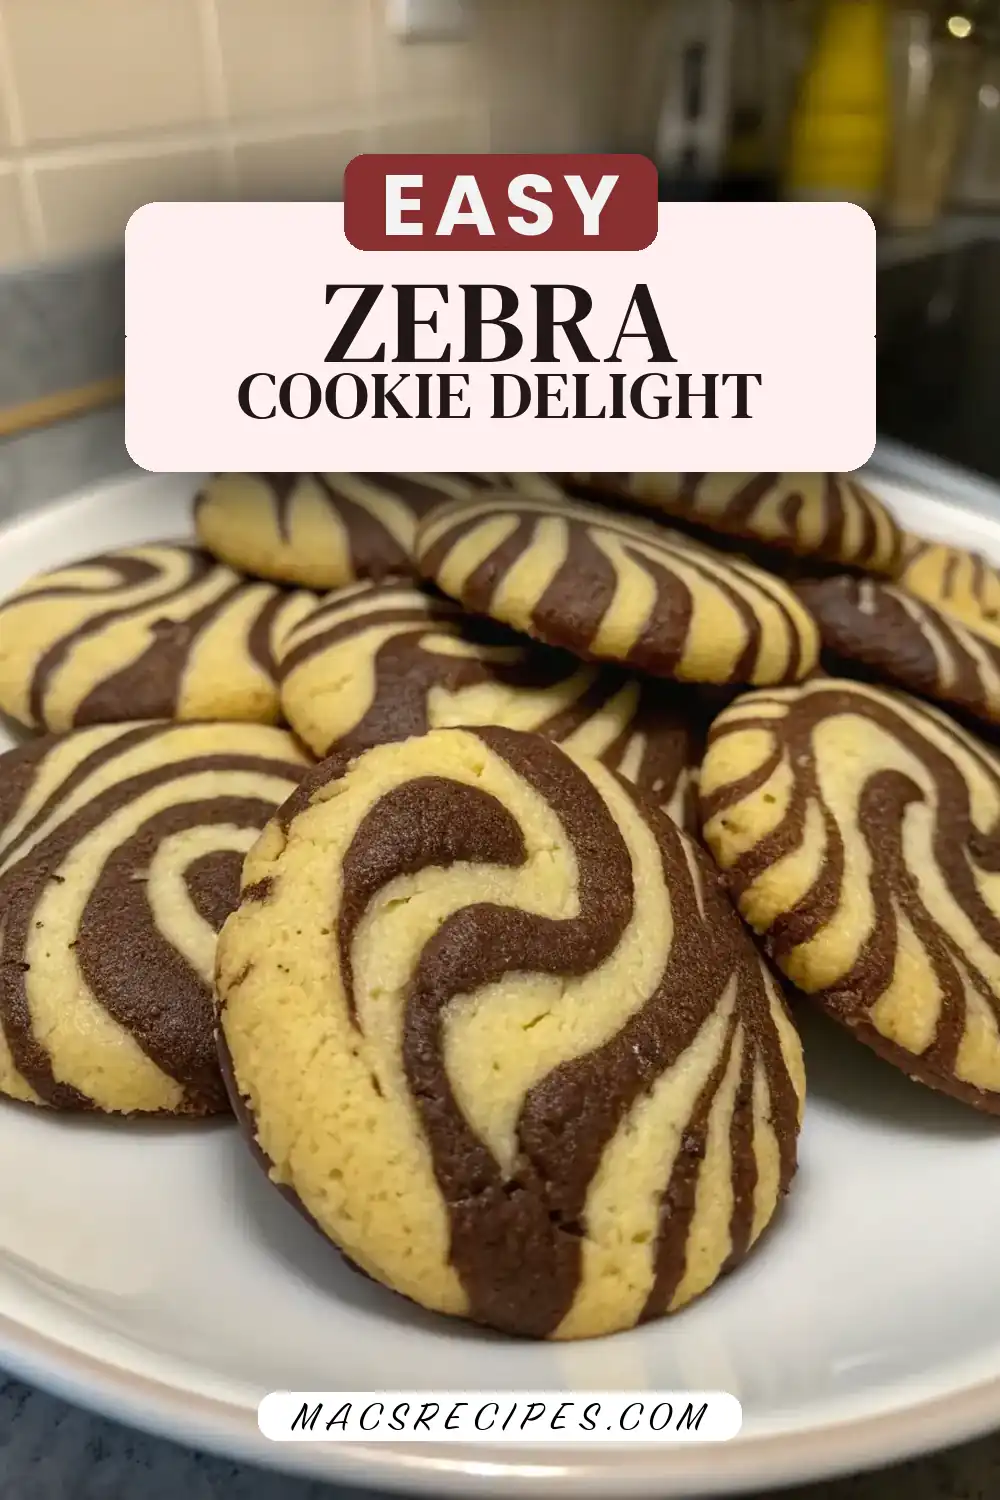
Zebra Cookies Recipe: A Delicious Twist on Classic Treats
Have you ever wondered if your favorite cookie recipe could be both visually stunning and irresistibly delicious? The Zebra Cookies Recipe is here to challenge your expectations and elevate your cookie game. This visually striking treat combines the rich flavors of chocolate and vanilla in a mesmerizing swirl pattern. With the Zebra Cookies Recipe, you can create a dessert that’s as fun to make as it is to eat. Let’s dive into the details and discover how to achieve cookie perfection.
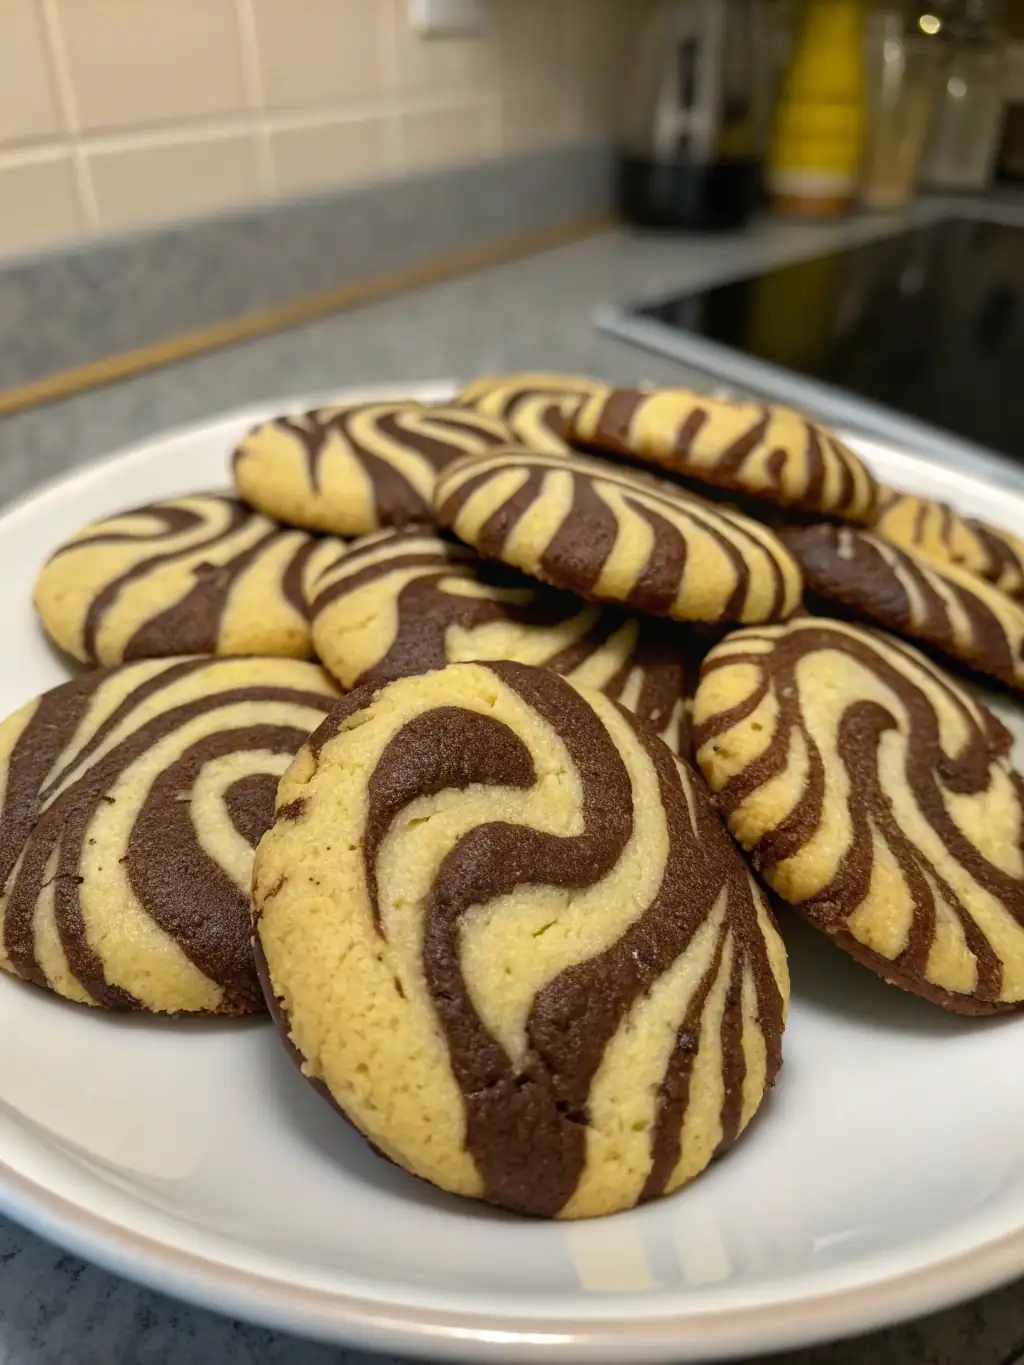
The Zebra Cookie is not just about taste; it’s a feast for the eyes. Imagine presenting a platter of these delightful cookies at your next gathering—your guests are bound to be impressed. The contrast between rich dark chocolate and creamy vanilla not only makes for an aesthetically pleasing cookie but also creates a flavor profile that is balanced and delightful. Whether you’re baking for a party, a special occasion, or simply to enjoy at home, these cookies are sure to be a hit.
Ingredients List
Crafting a delightful Zebra Cookies Recipe starts with the right ingredients. Here’s what you’ll need:
-
1 cup Butter, softened
For a dairy-free option, substitute with margarine. Softened butter is crucial for creaming with sugar and helps achieve a tender cookie texture by incorporating air. The quality of your butter can significantly impact the flavor of your cookies, so opt for a high-quality brand if possible. -
1 cup Brown Sugar
Enhances flavor with its deep, molasses undertones. Brown sugar not only adds moisture to the cookies but also deepens the flavor, giving the cookies a rich, caramel-like taste. If you prefer a lighter cookie, you can use light brown sugar, but for a more robust flavor, dark brown sugar is the way to go. -
3/4 cup Unsweetened Cocoa Powder
Essential for the chocolatey goodness. Choose high-quality cocoa powder for a more intense chocolate flavor. Dutch-processed cocoa can be used for a smoother, less acidic taste, while natural cocoa powder gives a more traditional chocolate flavor. -
2 1/2 cups All-purpose Flour
Opt for gluten-free flour to cater to dietary needs. All-purpose flour provides the structure for the cookies; ensure it’s measured correctly by spooning into the measuring cup and leveling off the top. This accuracy ensures the dough’s consistency is just right. -
1 large Egg
Replace with a flax egg for a vegan-friendly version. Eggs act as a binder and add richness to the cookies. To make a flax egg, mix one tablespoon of ground flaxseed with three tablespoons of water and let it sit for a few minutes to thicken. -
1 teaspoon Vanilla Extract
Pure extract recommended for the best aroma. Vanilla extract enhances the flavor profile, complementing both the chocolate and vanilla components. A good quality vanilla extract can make a significant difference, so avoid artificial flavors if possible. -
1 teaspoon Baking Powder
Baking powder helps the cookies rise and achieve a light texture. Ensure your baking powder is fresh for the best results; old baking powder can lead to flat cookies. -
1/2 teaspoon Salt
Salt enhances the flavors and balances the sweetness. A pinch more can be added for those who enjoy a sweet-salty combo.
These ingredients come together to create a symphony of flavors and textures in your Zebra Cookies. The balance between the deep chocolate notes and the smooth vanilla creates a cookie that is both dynamic and comforting.
Timing
Baking doesn’t need to be a time-consuming affair. This Zebra Cookies Recipe is designed for efficiency:
- Preparation Time: 20 minutes
- Cooking Time: 10-12 minutes
- Total Time: Approximately 35 minutes
This means you’ll spend 20% less time compared to many traditional cookie recipes, allowing you to enjoy your creation sooner. The brief preparation and cooking time make this recipe perfect for busy weeknights or last-minute gatherings. Fast, easy, and delicious, these cookies are perfect for satisfying that sudden sweet tooth craving.
Step-by-Step Instructions
Step 1: Cream Butter and Sugar
In a large mixing bowl, cream together the butter and sugar using an electric mixer on medium speed for about 2-3 minutes until light and fluffy. This step is crucial for achieving a perfect cookie texture. Proper creaming incorporates air, which aids in creating a soft and tender cookie. If you don’t have an electric mixer, a sturdy wooden spoon and some elbow grease will also do the trick.
The creaming process is essential because it sets the foundation for the cookie’s texture. By incorporating air into the butter and sugar mixture, you create a light, fluffy base that will help your cookies rise and stay tender. For an even creamier texture, ensure your butter is at room temperature before starting.
Step 2: Incorporate Egg and Vanilla
Beat in the egg and vanilla extract into the creamed mixture, mixing on low speed until fully incorporated. This ensures even flavor distribution. Adding the egg at this stage helps emulsify the batter, providing moisture and structure. Make sure the egg is at room temperature for better integration with the butter and sugar mixture.
Room temperature eggs blend more smoothly into the batter, helping to create a uniform texture. If you forget to take your egg out of the fridge in advance, you can quickly bring it to room temperature by placing it in a bowl of warm water for a few minutes.
Step 3: Combine Dry Ingredients
In a separate bowl, whisk together the flour, baking powder, and salt. Gradually add this to the wet mixture, mixing on low until just combined. Avoid overmixing to keep the cookies tender. The dry ingredients should be added slowly to prevent the formation of gluten, which can make the cookies tough.
Mixing the dry ingredients separately ensures that the baking powder and salt are evenly distributed throughout the flour, which helps the cookies rise evenly. When combining the dry with the wet ingredients, it’s important to mix just until the dough comes together; too much mixing can lead to a denser cookie.
Step 4: Divide and Flavor Dough
Divide the dough into two portions. Mix cocoa powder into one half until fully combined, ensuring an even chocolate flavor throughout. By dividing the dough, you enable the creation of the signature zebra pattern. Ensure the cocoa powder is fully integrated to avoid streaks in the chocolate portion.
This step is where the magic of the Zebra Cookie begins. By dividing and flavoring the dough separately, you create the contrasting colors needed for the pattern. Be thorough in mixing the cocoa powder to avoid any unappetizing clumps and to ensure a consistent chocolate taste.
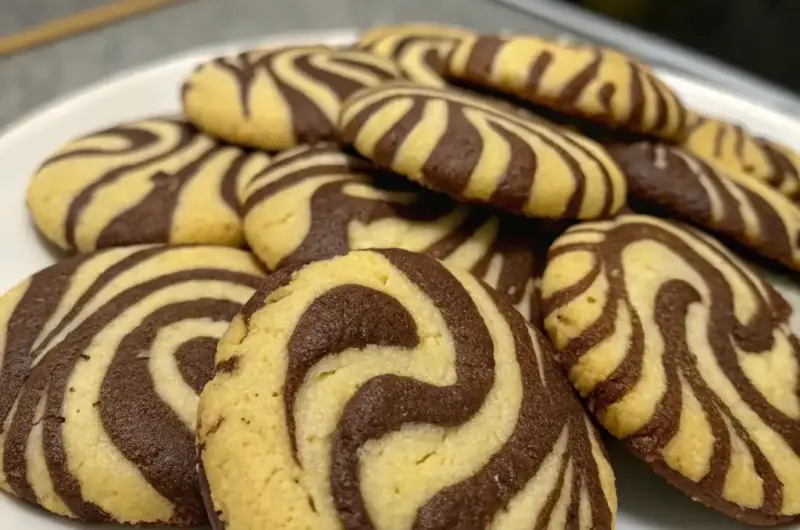
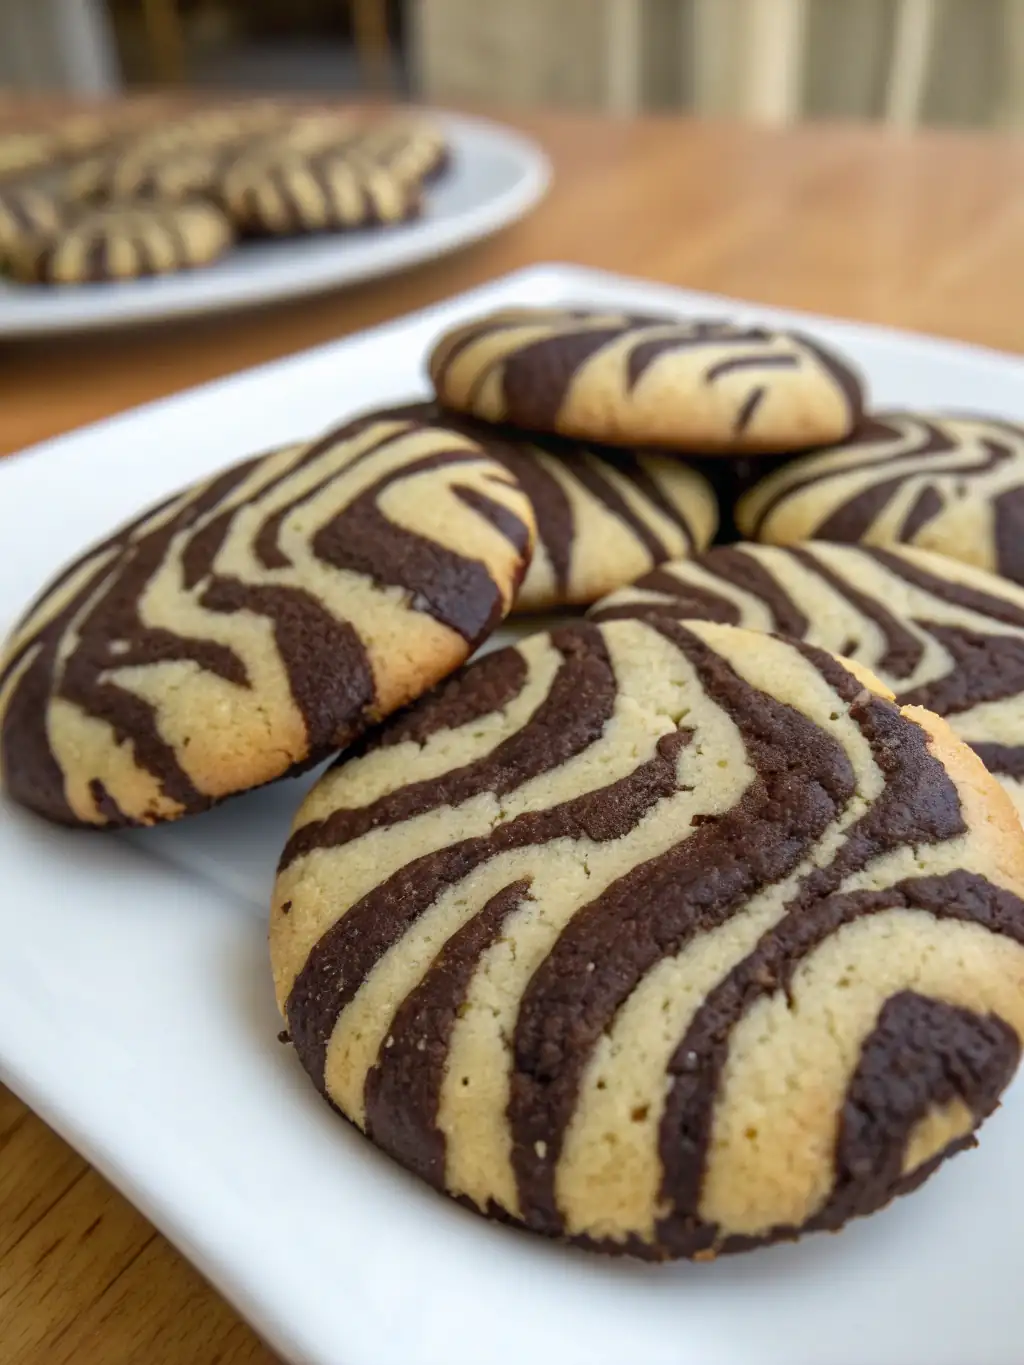
Step 5: Create the Zebra Pattern
Preheat your oven to 350°F (175°C) and line a baking sheet with parchment paper. Scoop alternating spoonfuls of the chocolate and vanilla dough onto the sheet. Use a toothpick to swirl the dough in a figure-eight motion, crafting the distinctive zebra pattern. Be gentle when swirling to maintain the integrity of the pattern without overmixing the doughs.
The swirling technique is key to achieving that perfect zebra look. Take your time and be delicate with this step to ensure each cookie has a distinct and beautiful pattern. This part is not only functional but can also be quite fun and artistic!
Step 6: Bake to Perfection
Bake the cookies for 10-12 minutes until the edges are golden and the centers are set. This precise timing helps achieve a perfect balance of crisp edges and chewy centers. Keep an eye on the first batch to determine the ideal baking time, as oven temperatures can vary.
The golden edges indicate that the cookies are perfectly baked, with a slight crispness that contrasts beautifully with their soft centers. If you prefer a chewier cookie, you can reduce the baking time slightly, but be cautious not to underbake them too much.
Step 7: Cool Completely
Remove the cookies from the oven and let them cool on the baking sheet for a few minutes before transferring them to a wire rack to cool completely. Allowing them to cool on the sheet helps them firm up, preventing breakage when transferred.
Cooling is an often overlooked but crucial step in the cookie-making process. As the cookies cool, they continue to firm up and develop their flavors. Make sure to cool them completely before storing to maintain the best texture.
Nutritional Information
Understanding the nutritional profile of your Zebra Cookies can help you make informed choices:
- Calories per Cookie: 120
- Total Fat: 6g
- Saturated Fat: 3.5g
- Cholesterol: 18mg
- Sodium: 60mg
- Total Carbohydrates: 16g
- Dietary Fiber: 1g
- Sugars: 8g
- Protein: 2g
These data insights can guide you in balancing indulgence with dietary considerations. Whether you’re counting calories or watching your sugar intake, these cookies provide a manageable treat within most dietary plans.
The nutritional breakdown shows that while these cookies are a treat, they can fit into a balanced diet when enjoyed in moderation. They offer a sweet indulgence without overwhelming your daily nutritional goals.
Healthier Alternatives for the Recipe
Transform your Zebra Cookies Recipe into a healthier treat with these modifications:
-
Swap Butter: Use coconut oil or avocado oil to reduce saturated fat. Both oils offer heart-healthy fats while maintaining the rich texture of the cookies. Coconut oil will add a slight coconut flavor, which pairs nicely with chocolate, while avocado oil has a more neutral taste.
-
Reduce Sugar: Substitute half the sugar with applesauce or honey for natural sweetness. This not only lowers the sugar content but also adds moisture to the cookies. Applesauce can add a slight apple flavor, while honey adds a floral sweetness.
-
Whole Wheat Flour: Replace all-purpose flour with whole wheat flour for added fiber and nutrients. This change increases the fiber content, making the cookies more satiating. Whole wheat flour can give the cookies a more robust texture and flavor.
These changes maintain flavor while enhancing nutritional benefits, making your cookies a guilt-free delight. Experiment with these substitutions to find the perfect balance for your dietary preferences.
Serving Suggestions
Elevate your Zebra Cookies with these creative serving ideas:
-
Ice Cream Sandwiches: Use the cookies as a base for homemade ice cream sandwiches. Pair vanilla cookies with chocolate ice cream and vice versa for a complementary flavor experience. This can be a fun summer treat or a unique dessert for a dinner party.
-
Cookie Crumble Parfaits: Layer cookie crumbles with yogurt or pudding for a decadent parfait. This can be a fun and interactive dessert for guests of all ages. Add some fresh fruit or a drizzle of caramel sauce for an extra special touch.
-
Coffee Companion: Pair with a steaming cup of coffee or hot cocoa for a cozy treat. The bittersweet notes of coffee enhance the chocolate flavor, while hot cocoa complements the vanilla. A sprinkle of cinnamon on your coffee or cocoa can add an extra layer of flavor.
These personalized tips ensure your Zebra Cookies fit any occasion, from casual snacking to festive celebrations. Get creative with your serving ideas to make your cookie experience even more delightful.
Common Mistakes to Avoid
Avoid these pitfalls to ensure your Zebra Cookies Recipe turns out perfectly:
-
Overmixing Dough: Leads to tough cookies. Mix just until ingredients are combined. Overmixing develops gluten, which can make cookies chewy instead of tender. Remember, a gentle hand is key.
-
Incorrect Oven Temperature: Always preheat your oven to ensure even baking. An oven thermometer can help verify the correct temperature. Oven temperatures can vary, so this step helps ensure consistent results.
-
Skipping Cooling Time: Allow cookies to cool completely for optimal texture. Cooling allows the cookies to set and enhances flavor development. Patience pays off with perfect texture and taste.
By sidestepping these errors, you can enjoy flawless cookies every time, impressing family and friends with your baking prowess. Keep these tips in mind to elevate your cookie-baking skills.
Storing Tips for the Recipe
Keep your Zebra Cookies fresh with these storage tips:
-
Airtight Container: Store cookies in an airtight container at room temperature for up to a week. This prevents them from becoming stale or absorbing moisture from the air. Add a slice of bread to the container to help maintain moisture.
-
Freezing: Freeze dough balls and bake as needed for fresh cookies anytime. Simply place the dough balls on a baking sheet, freeze until solid, then transfer to a freezer bag. This method ensures you can enjoy fresh-baked cookies whenever you like.
-
Prepping Ahead: Prepare the dough in advance and refrigerate for up to 48 hours. Chilling the dough can enhance flavor and improve texture by allowing the flour to fully hydrate. This also makes it easy to bake cookies on demand.
These practices help maintain the cookies’ freshness and flavor, ensuring you always have a delightful treat on hand. Proper storage can extend the life of your cookies and keep them tasting their best.
Conclusion
The Zebra Cookies Recipe offers a delightful blend of flavor, fun, and visual appeal. With an easy-to-follow process and versatile options, it’s perfect for bakers of all levels. Whether you’re a novice baker or a seasoned pro, these cookies are a surefire way to impress with both taste and aesthetics. Try it today, share your feedback, and subscribe for more delicious recipes!
These cookies not only satisfy your sweet tooth but also provide an opportunity to showcase your baking creativity. Their stunning appearance and delicious taste make them a perfect choice for any occasion. Whether you’re baking for yourself or sharing with friends, Zebra Cookies are sure to be a hit.
FAQs
Q: Can I use a different extract instead of vanilla?
A: Absolutely! Almond or peppermint extract can add a unique twist to your cookies. Almond extract enhances the nutty flavors, while peppermint brings a refreshing hint perfect for holiday variations. Experiment with different extracts to find your favorite combination.
Q: How do I make the cookies more chewy?
A: Increase brown sugar and slightly underbake for a chewier texture. The increased moisture from the brown sugar contributes to a softer, chewier cookie. Remember to adjust baking times carefully to achieve your desired texture.
Q: Can the dough be refrigerated overnight?
A: Yes, chilling the dough enhances flavor and texture. An overnight rest allows the flour to hydrate fully and the flavors to meld, resulting in a richer taste and a more complex cookie texture. This step can make your cookies even more delicious.
Explore more recipes and tips on our blog to continue your culinary adventures!

Zebra Cookies Recipe
Ingredients
Equipment
Method
- In a large mixing bowl, cream together butter and sugar using an electric mixer on medium speed for about 2-3 minutes until light and fluffy.
- Beat in egg and vanilla extract to the creamed mixture and mix on low speed until fully incorporated.
- In a separate bowl, whisk together flour, baking powder, and salt. Gradually add this to the wet mixture and mix on low until just combined.
- Divide dough into two portions. To one half, mix in cocoa powder until combined.
- Preheat oven to 350°F (175°C) and line a baking sheet with parchment paper. Scoop alternating spoonfuls of the chocolate and vanilla dough onto the sheet.
- Using a toothpick, swirl the dough in a figure-eight motion to create the zebra pattern.
- Bake for 10-12 minutes until the edges are golden and centers are set. Remove and let cool.
- Transfer to a wire rack to cool completely before serving.